Prerequisites
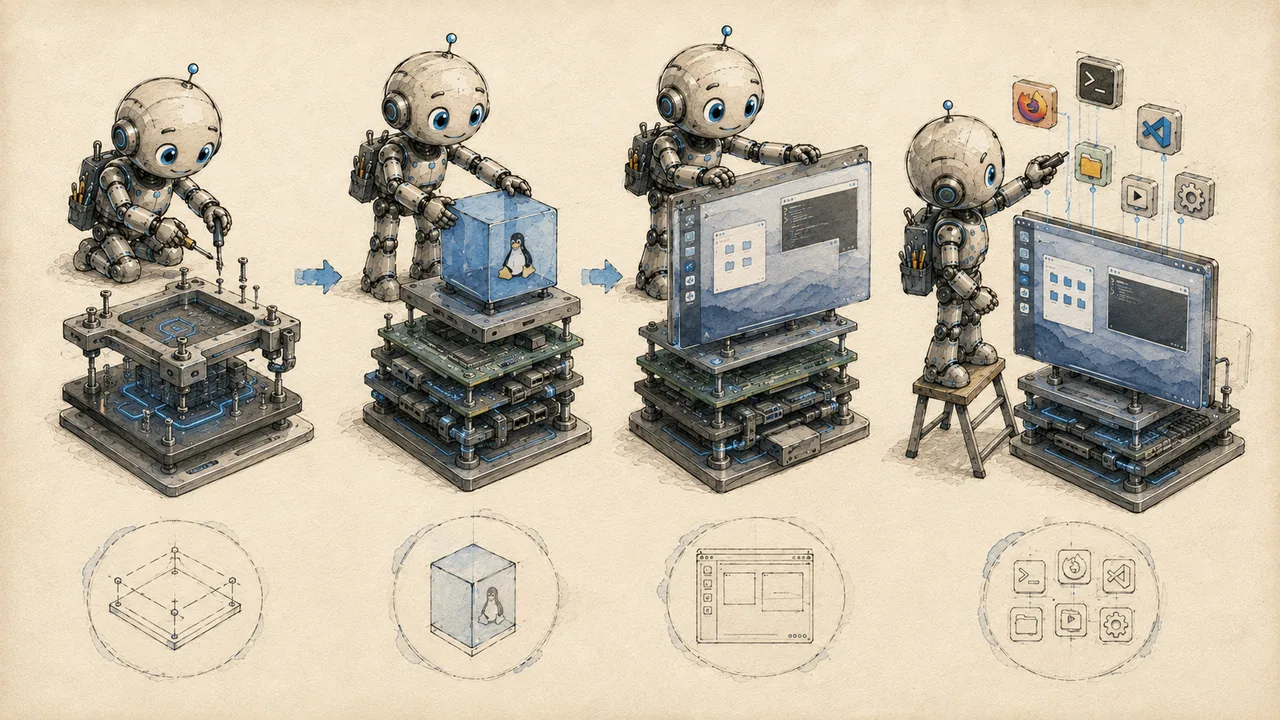
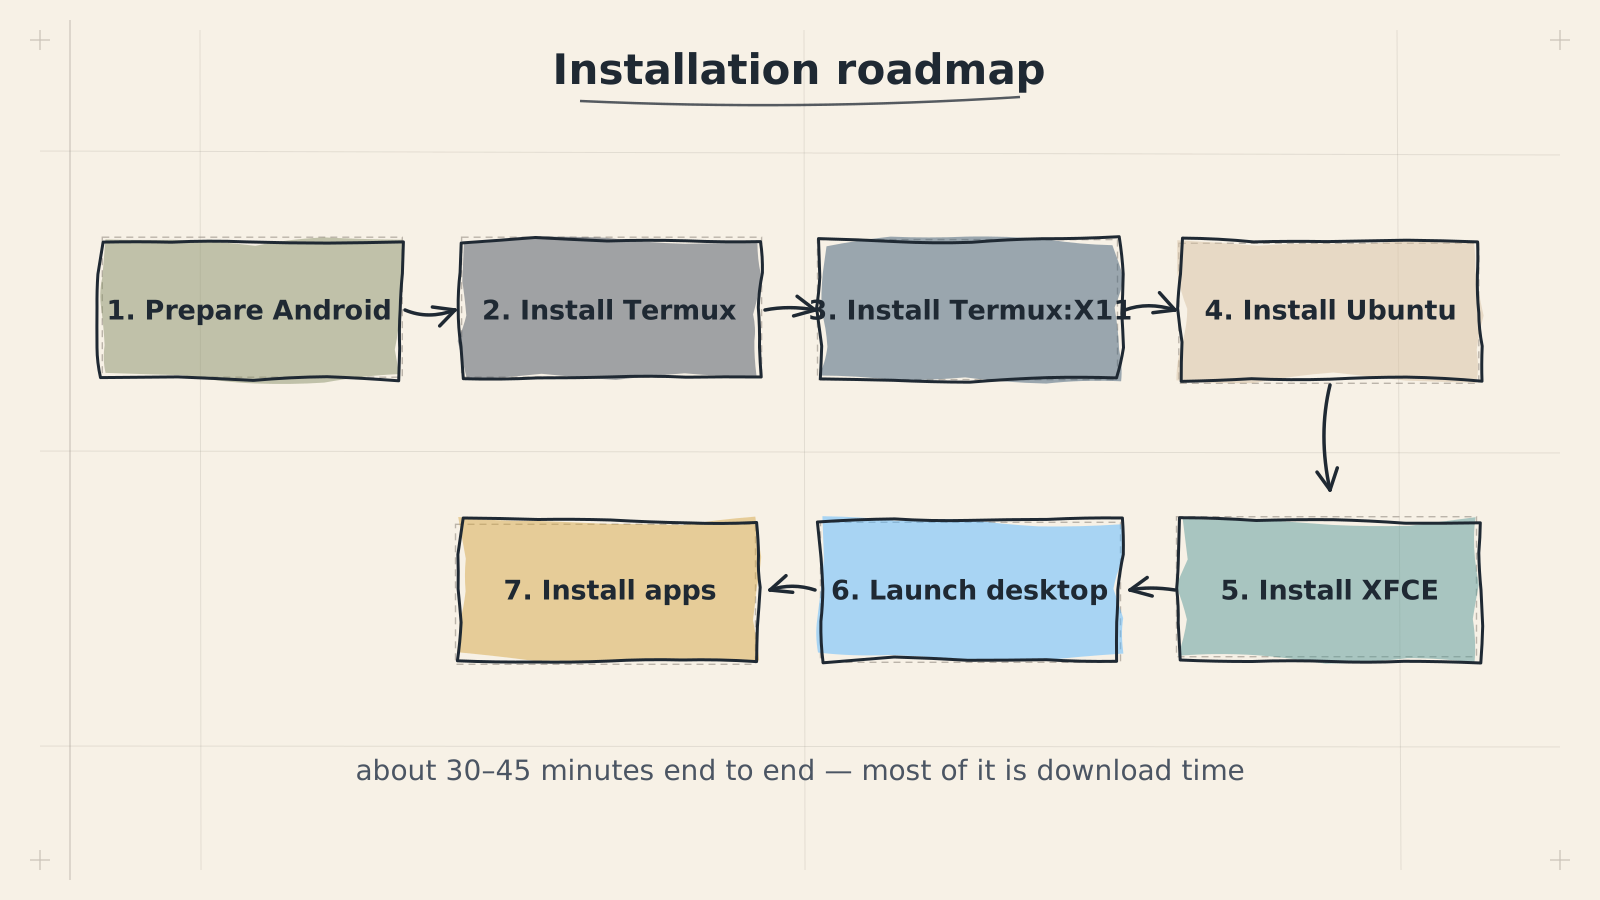
Before installing ADL, you need to verify that your Android device meets the requirements and configure a few system settings. This page walks you through every check and setting change, step by step.
Completing these prerequisites takes about 10 minutes and prevents the most common installation failures.
What You Need
- Android 10 or newer
- ARM64 (aarch64) processor
- Minimum 4GB of free storage (8GB recommended)
- Wi-Fi connection for downloading packages
- Permission to install apps from outside the Play Store
ADL runs a full Ubuntu Linux distribution inside a proot container on Termux. Android 10 introduced changes to how apps access storage and manage processes that ADL depends on. Older versions of Android lack the necessary kernel features and SELinux policies for proot to function reliably. The ARM64 requirement exists because the Ubuntu packages ADL installs are compiled for the aarch64 architecture, which is standard on phones and tablets manufactured after 2017.
For detailed hardware recommendations, including which phones and tablets work best with ADL, see the Recommended Hardware Setup.
Step 1: Check Your Android Version
ADL requires Android 10 or newer. Here is how to find your version:
- Open the Settings app on your device.
- Scroll to the bottom and tap About phone (or About tablet).
- Look for Android version. The number displayed must be 10 or higher.
On Samsung devices, the path is Settings > About phone > Software information > Android version. On Pixel devices, it is Settings > About phone > Android version.
You should see a number like 10, 11, 12, 13, 14, or 15. Any of these will work. If you see a number below 10 (such as 8 or 9), your device is not compatible with ADL.
Devices running Android 9 (Pie) or earlier cannot run ADL. The proot environment depends on kernel features and system call behavior introduced in Android 10. If your device is on Android 9, check your manufacturer's website for available system updates before proceeding.
Update your device to the latest available Android version before starting the ADL installation. System updates often include kernel patches and security fixes that improve Termux compatibility and overall stability. Go to Settings > System > System update (or Settings > Software update on Samsung) to check for available updates.
Step 2: Check Available Storage
ADL needs storage space for Termux, the Ubuntu filesystem, the XFCE desktop environment, and any applications you install inside Linux.
- Open the Settings app.
- Tap Storage (or Battery and device care > Storage on Samsung devices).
- Look at the amount of free space available.
You need at least 4GB of free space to install the base system. The number shown under "Available" or "Free" must be 4GB or greater. If you plan to install development tools, browsers, or other applications inside Linux, aim for 8GB or more of free space.
| Installation Type | Storage Needed | What's Included |
|---|---|---|
| Base system | ~4 GB | Ubuntu + XFCE desktop |
| Comfortable setup | ~6 GB | Base + common packages (git, vim, htop) |
| Development environment | ~8-10 GB | Base + build tools, editors, compilers |
| Full workstation | 12+ GB | Development + browsers, IDEs, media tools |
If you are low on storage, clear your app caches before starting. Go to Settings > Storage > Other apps, then tap on apps with large caches (social media, streaming, and browser apps are common offenders) and tap Clear cache. You can also move photos and videos to cloud storage or a computer to free up space.
Step 3: Check Your Processor Architecture
ADL requires an ARM64 (aarch64) processor. Nearly all Android phones and tablets sold since 2017 use ARM64, but it is worth confirming before you begin.
The most reliable way to check is from Termux. If you already have Termux installed, open it and run:
uname -mThe output should be aarch64. This confirms your device has a 64-bit ARM processor and is compatible with ADL.
If you do not have Termux installed yet, you can check using a free app:
- Install Device Info HW from the Google Play Store.
- Open the app and look for the CPU Architecture field.
- It should say ARM64 or aarch64 or ARMv8.
If uname -m outputs armv7l or the CPU architecture shows ARMv7 or 32-bit, your device cannot run ADL. The Ubuntu packages used by ADL are built exclusively for the 64-bit ARM architecture. There is no workaround for this limitation.
Some Android devices, particularly older tablets and emulators, use Intel x86 processors instead of ARM. ADL does not support x86 Android devices. If your device reports x86 or x86_64 for the processor type, it is not compatible.
Step 4: Enable Installing from Unknown Sources
ADL requires Termux to be installed from F-Droid rather than the Google Play Store. To install F-Droid, you need to allow your browser to install apps from outside the Play Store.
Android 10 and newer (per-app permission)
Modern Android versions handle this on a per-app basis. You grant permission to the specific app (your browser) that is downloading the APK:
- Open Settings > Apps > Special app access > Install unknown apps (the exact path varies by manufacturer).
- Find your browser in the list (Chrome, Samsung Internet, Firefox, etc.).
- Toggle Allow from this source to on.
On Samsung devices, the path is Settings > Apps > Menu (three dots) > Special access > Install unknown apps.
On Pixel devices, the path is Settings > Apps > Special app access > Install unknown apps.
After enabling this setting, your browser will be able to install APK files you download. Android will still ask you to confirm each installation. You can disable this setting again after installing F-Droid and Termux if you prefer.
Only enable "Install unknown apps" for your browser, not for all apps. This limits the potential for accidentally installing unwanted software. After you have finished setting up ADL, you can return to this setting and disable it again.
Step 5: Disable Battery Optimization for Termux
This is one of the most important steps. Android aggressively kills background processes to save battery. If Termux is killed while your Linux desktop is running, you will lose your session and any unsaved work.
Disable battery optimization
- Open Settings > Apps > Termux (you will do this after installing Termux, but make a note now).
- Tap Battery (or App battery usage).
- Select Unrestricted (or disable Battery optimization).
On Samsung devices: Settings > Apps > Termux > Battery > Unrestricted.
On Pixel devices: Settings > Apps > Termux > Battery > Unrestricted.
On Xiaomi/Redmi devices: Settings > Apps > Manage apps > Termux > Battery saver > No restrictions. Also disable MIUI battery optimization in Settings > Battery & performance > Battery optimization.
If you skip this step, Android will terminate Termux after a few minutes in the background. This means your Linux desktop will stop, any running programs will be interrupted, and unsaved files may be lost. This is the single most common cause of "Termux keeps closing" issues.
Disable additional battery restrictions (manufacturer-specific)
Some manufacturers add extra layers of battery management on top of stock Android. These must also be disabled for Termux to run reliably.
Samsung: Disable "Put unused apps to sleep" and "Auto-disable unused apps" in Settings > Battery and device care > Battery > Background usage limits. Also remove Termux from the "Sleeping apps" and "Deep sleeping apps" lists if it appears there.
Xiaomi/Redmi/POCO: In addition to the battery saver setting above, go to Settings > Battery & performance > Battery optimization, find Termux, and set it to "Don't optimize". Also enable Autostart for Termux in Settings > Apps > Manage apps > Termux > Autostart.
OnePlus/Realme: Go to Settings > Battery > Battery optimization, find Termux, and select "Don't optimize". Also check Settings > Battery > Advanced optimization and disable "Sleep standby optimization".
Huawei/Honor: Go to Settings > Battery > App launch, find Termux, disable "Manage automatically", and enable all three toggles (Auto-launch, Secondary launch, Run in background).
If you are unsure which battery settings apply to your device, search your device manufacturer's name along with "keep app running in background" for specific instructions. The website Don't Kill My App has detailed guides for every major Android manufacturer.
Step 6: Lock Termux in Recent Apps
After installing Termux (covered in the next guide), lock it in your recent apps list to prevent Android from closing it when you switch to other apps:
- Open Termux.
- Open your recent apps view (swipe up and hold on gesture navigation, or tap the square button on three-button navigation).
- Find the Termux card in the list.
- Tap the Termux icon at the top of the card, then select Lock (or Pin or Keep open, depending on your device).
On Samsung devices, tap and hold the Termux icon in the recent apps view and select Lock this app.
A small lock icon should appear on the Termux card in your recent apps. This tells Android not to close Termux when it needs to free memory for other apps.
Verification Checklist
Before moving on to the Termux installation, confirm all of the following:
- Android version is 10 or newer
- At least 4GB of free storage (8GB recommended)
- Processor is ARM64 / aarch64
- Browser is allowed to install apps from unknown sources
- Battery optimization is disabled for Termux (do this after installing Termux)
Troubleshooting
Next Step
Once you have confirmed all prerequisites, proceed to install Termux: