Termux Setup
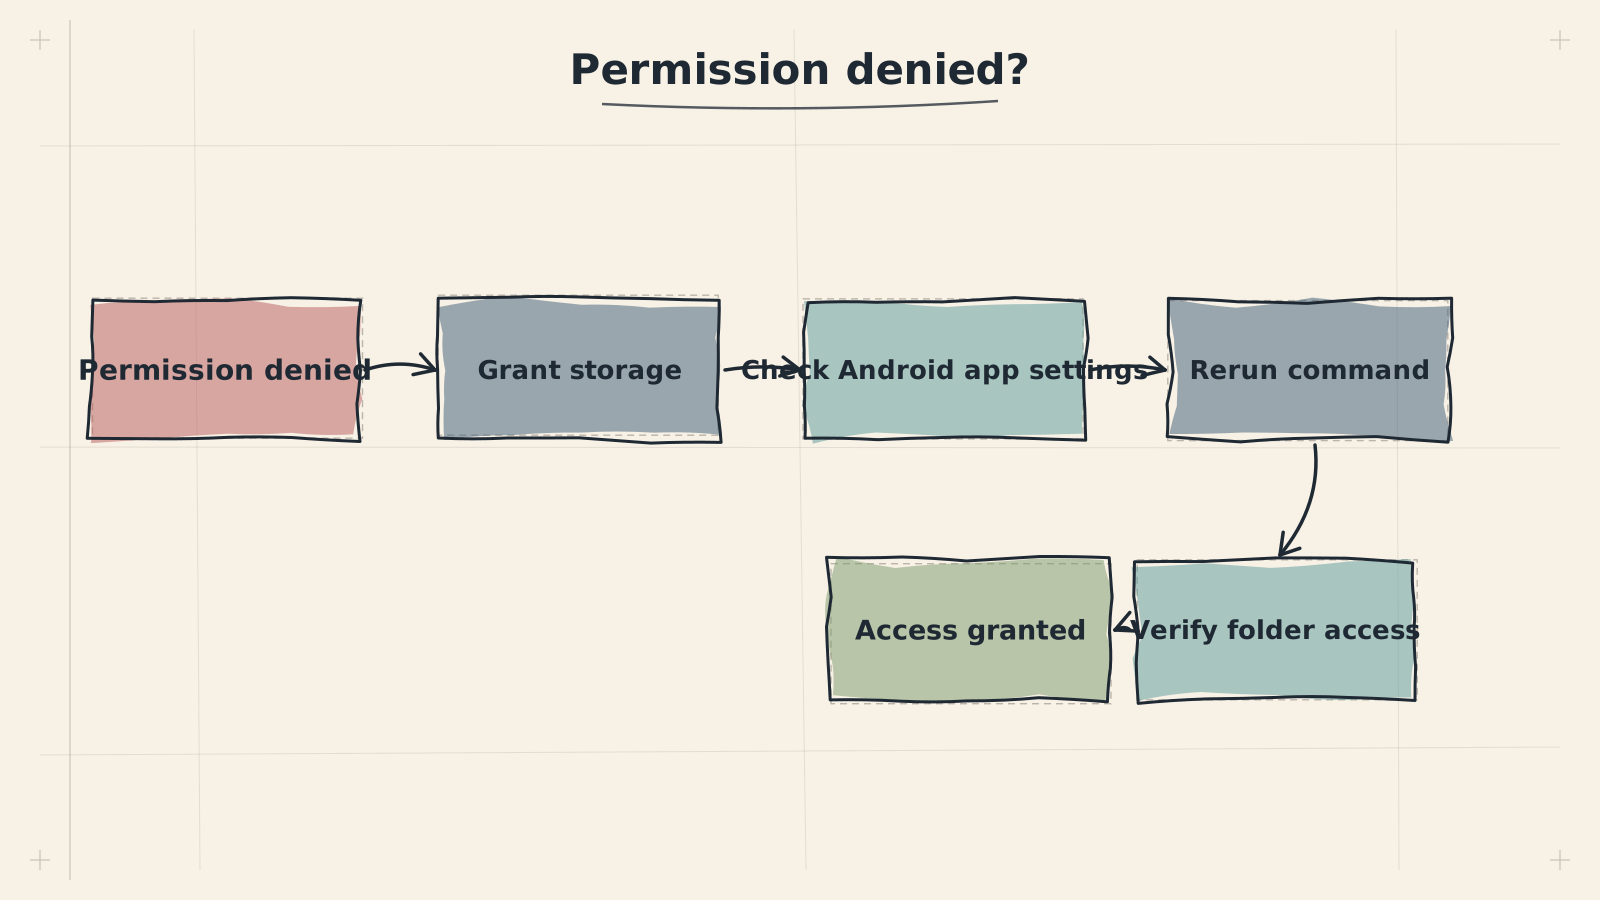
Termux is a powerful terminal emulator for Android that provides a full Linux environment without requiring root access. ADL uses Termux as the foundation layer — it is the bridge between your Android device and a complete Linux desktop. Every command you run, every package you install, and every Linux distribution you set up flows through Termux.
This guide walks you through each step of installing and configuring Termux in detail. If you want to understand more about what Termux is and how it works under the hood, see the What is Termux? concept guide.
The version of Termux available on the Google Play Store is outdated and no longer maintained. It targets an old Android API level, which causes critical failures: packages fail to install, proot-distro does not work correctly, and you will encounter cryptic permission errors. Always install Termux from F-Droid. If you already have the Play Store version installed, uninstall it completely before proceeding.
Step 1: Download F-Droid
F-Droid is an open-source app store for Android. It is the only reliable source for an up-to-date version of Termux.
- Open your Android device's web browser (Chrome, Firefox, or any browser).
- Navigate to https://f-droid.org.
- Tap the Download F-Droid button on the main page. This downloads an APK file (typically named
F-Droid.apk). - The download is roughly 8-10 MB and should complete in a few seconds on most connections.
An APK (Android Package Kit) is the file format Android uses to distribute and install apps. Downloading an APK from a website is called "sideloading" — installing an app from outside the Play Store. This is safe when the source is trustworthy, and F-Droid is a well-established, open-source project.
Step 2: Install the F-Droid APK
After the download completes, you need to install the APK. Android has security measures that prevent installation from unknown sources by default.
- Tap the downloaded
F-Droid.apkfile from your notification bar or file manager. - Android will display a prompt saying "Your phone is not allowed to install unknown apps from this source."
- Tap Settings when prompted, then enable "Allow from this source" for your browser.
- Go back and tap Install to proceed with the installation.
- Once installed, tap Open to launch F-Droid, or find it in your app drawer.
On Android 13 and newer, you may see a slightly different prompt. Look for "Install unknown apps" in your device's Settings under Apps or Security, then enable it for the browser you used to download.
Step 3: Update F-Droid Repositories
When you first launch F-Droid, it needs to sync its repository index — the catalog of all available apps and their versions.
- Open F-Droid. On the first launch, you will see a screen that says "Updating repositories..." with a progress indicator.
- This initial sync can take 1-5 minutes depending on your internet speed. Do not close the app during this process.
- Once complete, the main screen will populate with app categories and a search bar.
Let F-Droid finish its full initial sync before searching for Termux. If you search too early, the app list may be incomplete and Termux might not appear in results.
Step 4: Install Termux from F-Droid
Now that F-Droid is set up, you can install Termux.
- Tap the search icon (magnifying glass) in F-Droid.
- Type Termux in the search field.
- Look for the result labeled "Termux - Terminal Emulator" published by Fredrik Fornwall. Confirm the package name is
com.termux. - Tap on the Termux entry, then tap Install.
- F-Droid will download and install Termux. The download is approximately 100-150 MB.
- After installation, verify the version is 0.118 or newer. Older versions lack critical features ADL depends on.
If you previously installed Termux from the Play Store and then install the F-Droid version without uninstalling the old one first, Android may block the installation because the two versions are signed with different keys. You will see an error like "App not installed — package conflicts with an existing package." The fix is to fully uninstall the Play Store version first, then install from F-Droid. Note that uninstalling removes all Termux data, so back up anything important before doing so.
Step 5: First Launch Configuration
When you open Termux for the first time, it performs some initial setup automatically.
- Find and tap the Termux icon in your app drawer.
- On first launch, Termux will display "Installing bootstrap packages..." and download its core environment. This takes 30-60 seconds.
- Once complete, you will see a terminal prompt that looks like:
A black terminal screen with a blinking cursor and a prompt showing something like $ — this is the Termux shell, ready for commands.
- You can now type commands directly into this terminal. Everything from here on is typed into the Termux terminal.
Termux uses a touch keyboard by default. You will see an extra row of keys above your keyboard with characters like Tab, Ctrl, and arrow keys. These are essential for terminal work. If you have a physical keyboard connected, Termux works with that as well.
Step 6: Grant Storage Permissions
Termux needs access to your device's shared storage so that files can be exchanged between Termux and Android apps (file managers, galleries, etc.).
Run the following command:
termux-setup-storageWhen you run this command:
- Android will display a permission dialog asking "Allow Termux to access photos, media, and files on your device?"
- Tap Allow.
- Termux creates a
~/storagedirectory with symlinks to your device's shared storage locations (Downloads, DCIM, Music, etc.).
After granting permission, you should be able to run ls ~/storage and see directories like dcim, downloads, movies, music, pictures, and shared.
Without storage permissions, you will not be able to transfer files between your Linux desktop environment and Android apps. VNC screenshots, file downloads, and shared documents all depend on this permission being granted.
Step 7: Update All Packages
Before installing anything else, bring all existing Termux packages up to date. This ensures compatibility and security.
pkg update && pkg upgrade -yThis command does two things:
pkg updaterefreshes the list of available packages from the Termux repositories.pkg upgrade -yupgrades all installed packages to their latest versions. The-yflag automatically answers "yes" to confirmation prompts.
The terminal will display a series of package download and installation messages. This process typically takes 1-3 minutes. When finished, you will return to the normal $ prompt with no errors.
During the update, you may be prompted to select a mirror (package download server). If asked, choose a mirror geographically close to you for the best download speeds. The default selection is usually fine.
Step 8: Install Essential Tools
ADL requires two key packages in Termux:
- proot-distro — manages Linux distribution installations within Termux (this is how you install Ubuntu).
- wget — a command-line download utility used during the ADL setup process.
Install both with a single command:
pkg install proot-distro wget -yBoth packages will be downloaded and installed. You will see confirmation messages for each. The process takes about 30-60 seconds. The prompt returns to $ when complete.
Step 9: Verify Installation
Run the following commands one at a time to confirm everything is installed and working correctly.
Check that proot-distro is available:
proot-distro --versionA version number is printed, such as proot-distro 4.x.x. Any version output confirms the tool is installed.
Check that wget is available:
wget --versionVersion and build information for wget is displayed, starting with something like GNU Wget 1.x.x.
List available distributions that proot-distro can install:
proot-distro listA table listing available Linux distributions, including Ubuntu. You should see entries for Ubuntu, Debian, Fedora, Alpine, and others.
If all three commands produce output without errors, your Termux installation is complete and ready for the next step.
Keep Termux updated regularly by running pkg update && pkg upgrade -y every week or two. Termux repositories receive frequent updates, and running outdated packages can cause compatibility issues with proot-distro and the Linux distributions it manages.
Troubleshooting
Next Step
Your Termux environment is fully configured and ready. The next step is to install Ubuntu Linux inside Termux using proot-distro.
Continue to Ubuntu Setup to install and configure your Linux distribution.