Display Servers
Your Linux desktop environment needs a display server to render its graphical output. In ADL, you have two options: Termux:X11 and VNC. Each works differently, has distinct advantages, and is better suited to different use cases.
For background on display server concepts, see What is Wayland?. For detailed setup instructions, see Termux:X11 and VNC.
How Display Servers Work in ADL
On a standard Linux computer, the display server talks directly to the graphics hardware. In ADL, that is not possible --- Android controls the display hardware. Instead, ADL uses one of two approaches:
- Termux:X11 acts as an X11 server inside an Android app. Linux applications send their rendering commands to Termux:X11, which displays them as an Android view. This happens locally with shared memory, making it fast.
- VNC runs a virtual framebuffer inside the proot container. Linux applications render to this framebuffer, and a VNC client (Android app) connects to view the output. This adds a network protocol layer but works across devices.
Comparison
| Feature | Termux:X11 | VNC |
|---|---|---|
| Performance | Near-native rendering | Noticeable lag |
| Setup complexity | Moderate | Simple |
| Audio support | Via PulseAudio bridge | Usually none |
| Remote access | Local only | Access from any device |
| Resolution | Matches device screen | Configurable independently |
| Input handling | Native touch/keyboard | VNC client-dependent |
| GPU acceleration | Partial (virpipe) | None |
| Multi-monitor | Supported (DeX) | Single virtual display |
| Network required | No | Localhost or network |
| Clipboard sharing | Automatic | VNC client-dependent |
Termux:X11 Setup
Installation
Termux:X11 requires two components: an Android app and a Termux companion package.
- Download the Termux:X11 APK from the GitHub releases page
- Install the APK on your Android device
- Install the companion package in Termux:
pkg install termux-x11-nightlyLaunch Script
Create a launch script that starts Termux:X11 and your desktop:
chmod +x ~/start-x11.shTermux:X11 Settings
Open the Termux:X11 Android app and configure these settings for the best experience:
- Display resolution mode: "Exact" for sharpest rendering, "Scaled" if performance matters more
- Show additional keyboard: Enable if you need function keys and special characters
- Fullscreen: Enable for maximum screen space
- Touch input mode: "Trackpad" for precise control, "Direct touch" for tablet-style interaction
Use "Trackpad" mode on phones --- it gives you a visible cursor that you move with swipes, similar to a laptop trackpad. This is far more precise than direct touch when interacting with small desktop UI elements.
Termux:X11 Display Configuration
Set the display resolution from within your Linux session:
xrandr --output screen --mode 1920x1080List available resolutions:
xrandrAdd a custom resolution:
xrandr --newmode '1600x900' 119.00 1600 1696 1864 2128 900 901 904 932 -HSync +VSyncxrandr --addmode screen '1600x900'xrandr --output screen --mode '1600x900'Setting a resolution higher than your physical screen renders more pixels and scales them down, which reduces performance. On a 1080p phone screen, setting 1920x1080 or lower gives the best performance. Only use higher resolutions on external monitors.
VNC Setup
Installation
Install a VNC server inside your Ubuntu proot container:
apt install tigervnc-standalone-server -yInstall a VNC client on your Android device. AVNC (free, open source) and bVNC (free) are both good options available on the Play Store or F-Droid.
Initial Configuration
Set a VNC password (you will need this to connect from the client):
vncpasswdLaunch Script
VNC Startup File
Configure what happens when VNC starts by editing ~/.vnc/xstartup:
chmod +x ~/.vnc/xstartupConnecting
- Start the VNC server with the launch script
- Open your VNC client app on Android
- Connect to
localhost:5901 - Enter the password you set with
vncpasswd
If connecting from another device on your network (not the same phone), replace localhost with your Android device's IP address. Find it in Android Settings > Wi-Fi > your network > IP address.
Resolution and DPI Settings
Finding the Right Resolution
The ideal resolution depends on your display and how you use it:
| Scenario | Recommended Resolution | DPI |
|---|---|---|
| Phone (direct screen) | 1280x720 or native | 140-192 |
| Tablet (direct screen) | 1920x1080 or native | 120-144 |
| External monitor (1080p) | 1920x1080 | 96 |
| External monitor (1440p) | 2560x1440 | 120 |
| External monitor (4K) | 3840x2160 | 144-192 |
| Wireless DeX | 1920x1080 | 96-120 |
Setting DPI
DPI (dots per inch) controls how large text and UI elements appear. Higher DPI means larger elements.
In XFCE:
xfconf-query -c xsettings -p /Xft/DPI -s 120For VNC, you can also set DPI when starting the server:
vncserver :1 -geometry 1920x1080 -depth 24 -dpi 120 -localhost noHigher resolutions require more processing power for rendering. On devices with mid-range processors, running at 1920x1080 can feel sluggish compared to 1280x720. If performance matters more than visual sharpness, use a lower resolution. This is especially true with VNC, which must compress every frame.
Multi-Monitor Setup (Samsung DeX)
Samsung DeX allows your phone to output to an external monitor while keeping the phone screen active. Termux:X11 can take advantage of this to provide a multi-display Linux desktop.
Wired DeX Multi-Monitor
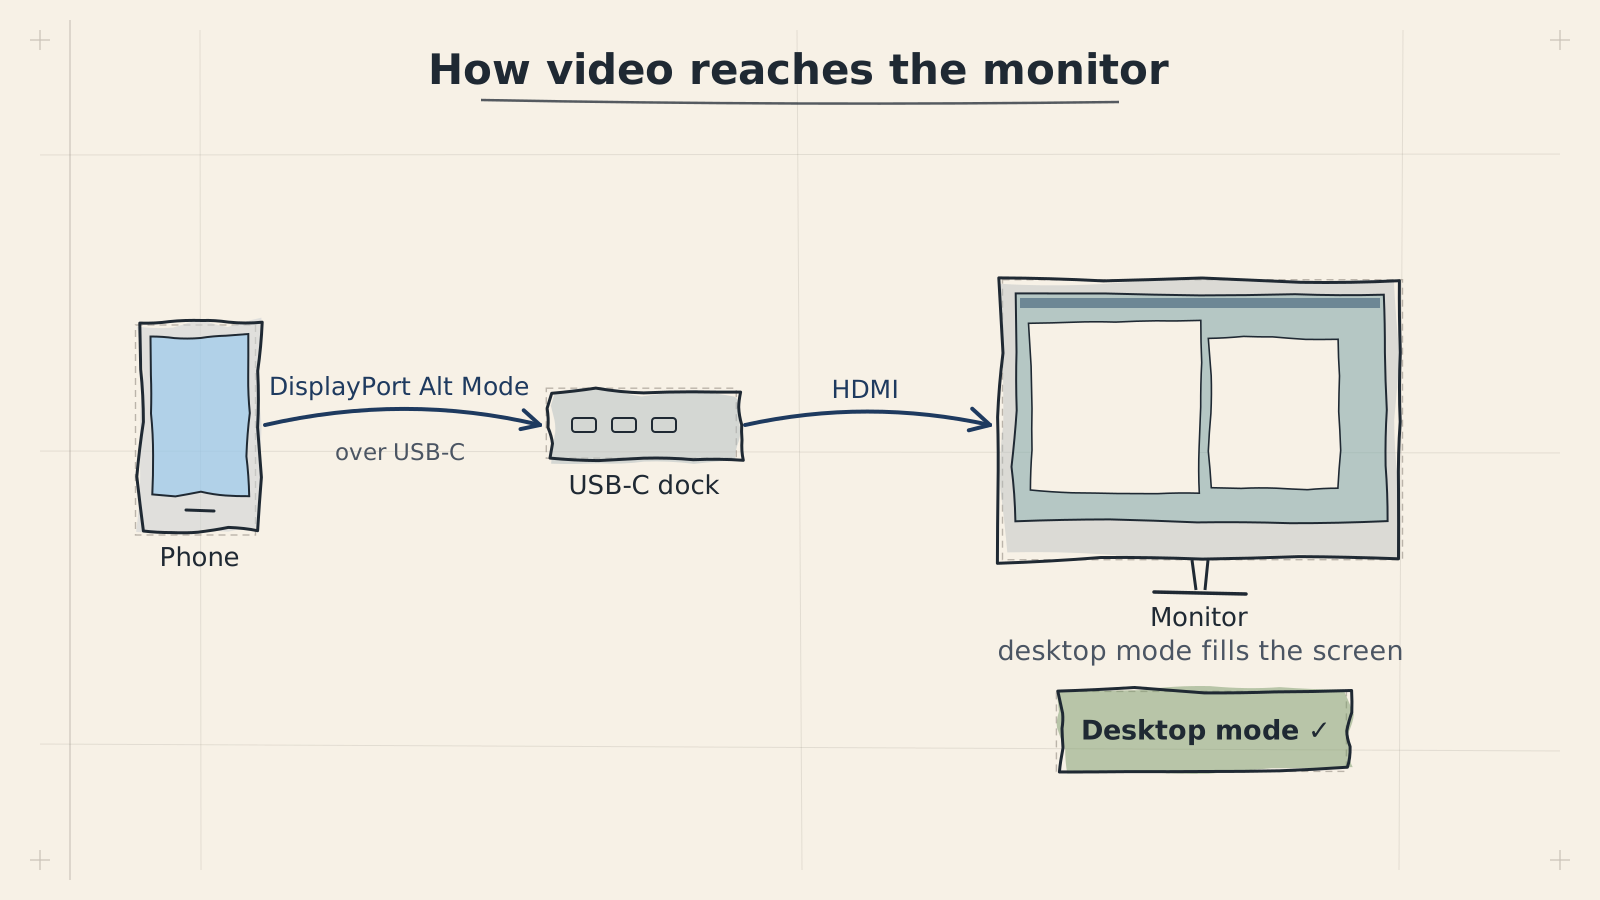
With a USB-C to HDMI adapter or hub:
- Connect your phone to the external monitor
- DeX activates on the external display
- Open Termux:X11 on the external display (drag it from the phone screen or launch it on the monitor)
- Your Linux desktop renders on the monitor at the monitor's resolution
xrandr --output screen --mode 1920x1080Wireless DeX
Samsung DeX can mirror or extend to smart TVs and Miracast displays wirelessly:
- Enable wireless DeX: Settings > Connected devices > Samsung DeX
- Connect to your TV or wireless display
- Launch Termux:X11 on the external display
Wireless DeX adds latency compared to wired connections. Expect 50-100ms of input delay depending on your Wi-Fi network quality. This is noticeable for fast typing or precise mouse work. For productive work, use a wired connection.
Display Configuration for External Monitors
When connected to an external monitor, you may need to adjust the XFCE display settings:
xfce4-display-settingsFor a monitor with a different DPI than your phone screen:
xfconf-query -c xsettings -p /Xft/DPI -s 96Create separate launch scripts for phone-only and monitor-connected use cases. Each script can set the appropriate resolution and DPI for that scenario, so you do not have to reconfigure every time you dock or undock.
Audio Configuration
Audio with Termux:X11
Termux:X11 can pass audio from Linux applications to your Android device through PulseAudio:
apt install pulseaudio -yAdd to your launch script before starting the desktop:
Audio with VNC
VNC does not natively support audio. If you need audio output while using VNC, you have two options:
- Use PulseAudio over TCP (same setup as above) with a separate PulseAudio client on Android
- Accept that audio is a limitation of VNC and use Termux:X11 when audio is needed
Troubleshooting
Next Steps
- XFCE Configuration --- tune the desktop environment for your display setup
- Samsung DeX Overview --- complete guide to using ADL with Samsung DeX
- Performance Optimization --- optimize rendering performance for your display server